This page explains how our docs work and how you can use them to your advantage.
Introduction
We get it—reading new docs for the first time is confusing and time-consuming. We want your experience with our docs to be as enjoyable as possible, so we've created this guide to get you up and running. We'll discuss the organization of our docs, how each page is formatted, and how you can use each page to send requests yourself.
If you learn in a different way and would prefer to read our docs in a different format, our docs are listed on our Help Site as well.
Lastly, if you have feedback or would like to ask a question about our API, feel free to reach out to us in the Discussions section.
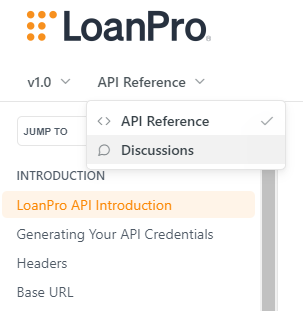
Reach out to us directly in our Discussions section.
Categorization
Our docs are organized into broad categories such as CUSTOMERS, LOANS, and LOAN SERVICING. Each category is also broken down into smaller, more specific sub-categories. For example, if you head to the PAYMENTS category, you'll see there are sub-categories for Payments, AutoPays, and Suspending Forecasted Payments. Within these sub-categories is where you'll find each available and applicable request.
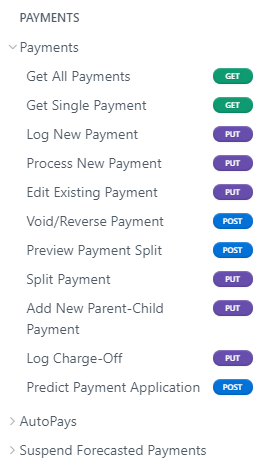
The Payments category.
You can expand each of the sub-categories by clicking the > button or by clicking the name of the sub-category.
We list our requests in a specific order. If you've had a chance to read our LoanPro API Introduction page, you'll know that the order of our docs mirrors what we call the 'loan lifecycle'—the natural steps a loan follows during the length of its life, from customer creation to servicing, and account closure. We find that following this process ensures data accuracy. Thus, we've arranged our docs in the same order to simplify sifting through our docs to find a request. After these sections, we list account-level settings and entity-level requests.
Lastly, if you're having trouble finding a request, you can use the search bar at the top of the page to find individual requests.
Page Organization
Each request has its own page, and navigating between each page requires you to select an item in the list or click the article links at the bottom of the page. You'll notice that each of our pages also follows the same layout:
- General Information: Here, we list background info on the topic and request at hand. If you'd like to see how a feature works in the UI, you'll find links to help articles in this section.
- Database Information: If you need to know which database tables to reference, this section lists them.
- Sample Payloads: We provide sample payloads for each request. Requests that can be built in multiple ways will include multiple sample payloads.
- Try It Instructions: Our pages allow you to send requests to our demo account. The Try It Instructions tell you if trying a request is possible and if you need to make any changes to the request to get it to work. If you see a blue callout, you'll know the request is ready for you—no change necessary for a 200 response. However, if you see an orange callout, the request will need some information from you before you can receive a 200 response.

Try It Instructions explain how to get a 200 response.
- Body Params: This section allows you to enter the payload information of the request.
Page Elements
Our docs on this site feature interactive elements. Here's a breakdown of what you can interact with on each page.
Payload & Headers Builder
Starting with the right side of each page, you'll find the payload builder. Not only does this provide header and payload formatting information, but it also allows you to switch between programming languages in case you're more comfortable in Python instead of cURL, for example.
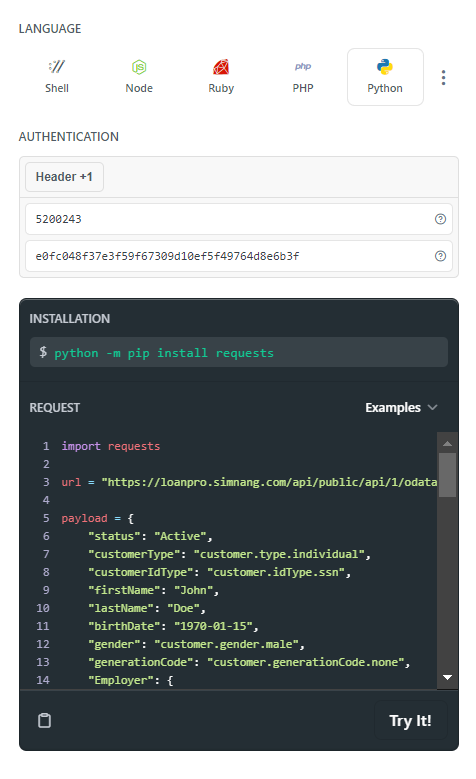
Select your preferred programming language from the options at the top. For more languages, select the three-dot menu icon.
This section is also where you can use your own header information with a request. If you leave our header information in these fields, the request will be made with our demo account credentials.
Body Params
If you like to test requests with different parameters, each page's 'Body Params' section will be a handy tool for you. Here, you can input different values for the keys (or fields) in the payloads of our requests. We include sample values for you, but you are always free to change them (as long as they meet the datatype requirements, of course). As you change values, expand objects, and even remove fields, the payload builder automatically updates to reflect those changes.
The payload builder updates automatically when you change body parameters.
You'll notice that some fields within the 'Body Params' section are required. Pay close attention to those fields—they may be the reason you're receiving a 409 response.
Try It Button
Below the Payload Builder is the 'Try It!' button. Here, you can put your payload to the test. Our docs pages also act as an HTTP client—hitting 'Try It!' will send the request to the account associated with the included authentication headers. We've connected our demo account to these pages, so sending a request without updating the headers will update our account. But you're more than welcome to try these requests with your own header information.
Responses
Responses are an important part of any REST API, and we know what it's like to receive a response that makes no sense. Each of our pages also includes sample responses so you can see how to handle unsuccessful requests. To view sample responses, select one of the examples listed in the 'Response' section on the right side of the page.
Each page includes sample responses.
If you receive a confusing response—or one not listed on these docs—reach out to us.